And more PSU debugging
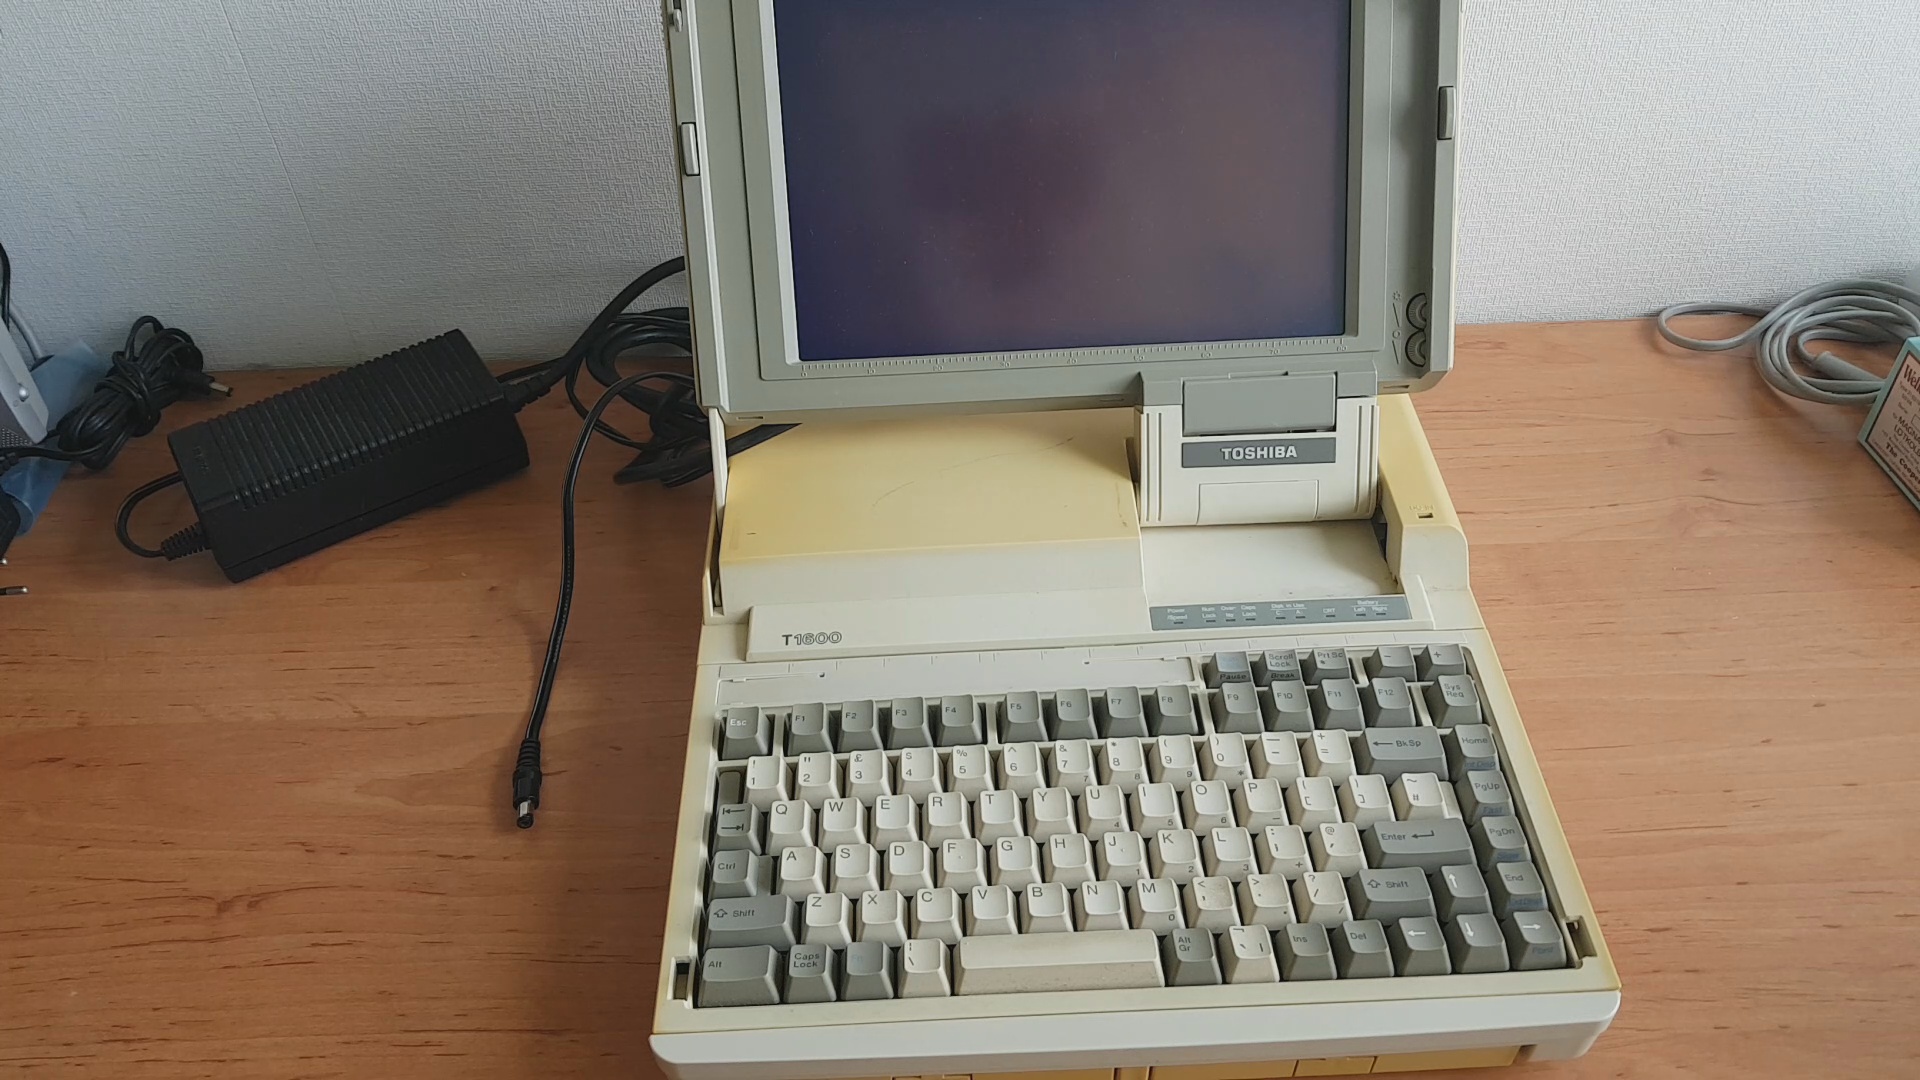
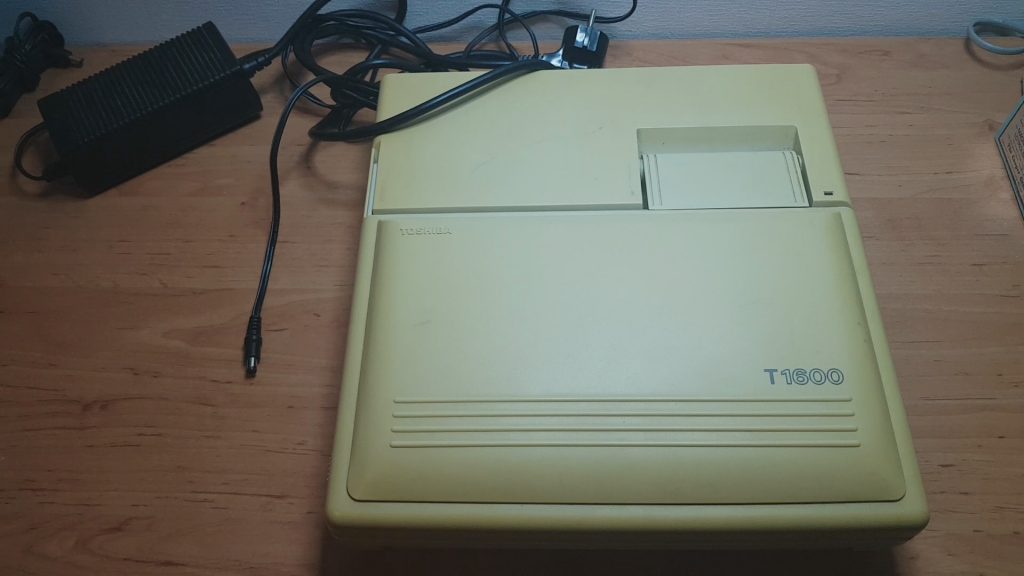
Back in October I acquired a Toshiba T1600 for very little money.
It didn’t look all that great from the advertisers pictures and was, as most of these late 80’s/early 90’s Toshiba laptops, sold as not working but I thought I’d take my chances with it.
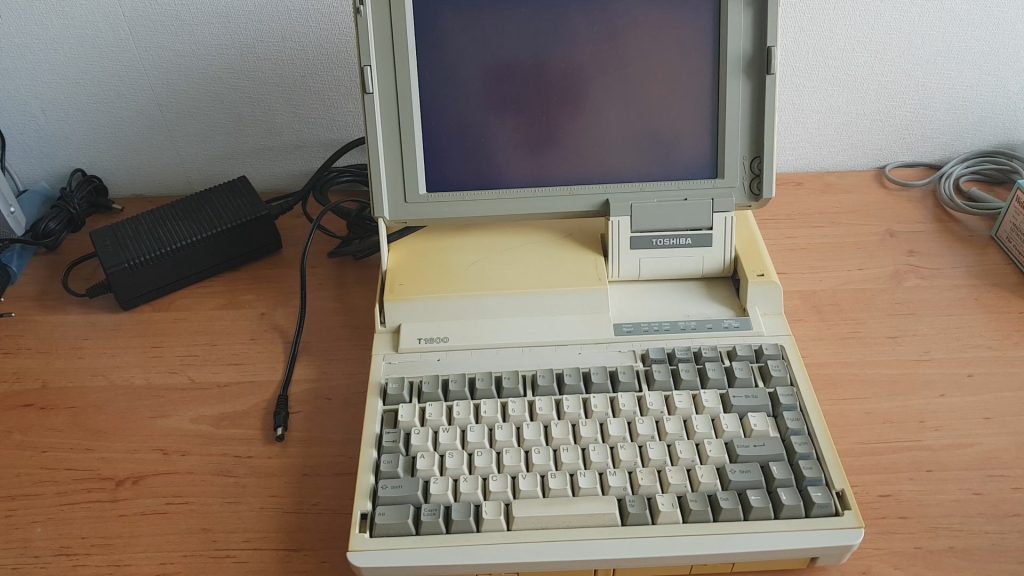
I really like the funky nature of this oddball machine with it’s removable LCD screen, it makes a nice addition to the Toshiba family
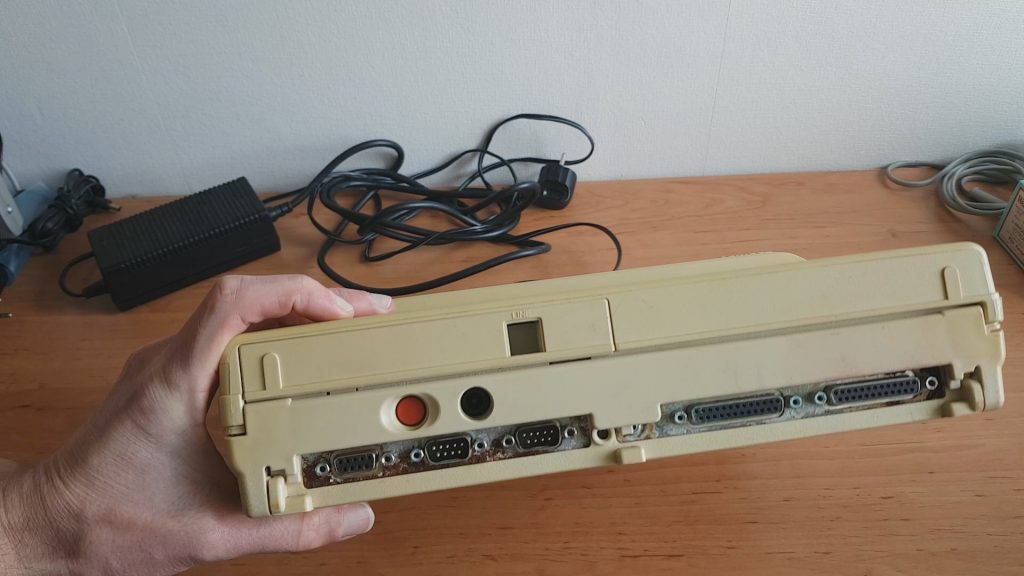
Upon first inspection, things didn’t look all that great. Obviously the machine is very, very yellowed and the LCD has some strange “cloudiness” to it. There was a lot of corrosion on the back I/O bracket as well.
After taking it all apart things didn’t really look all that well.
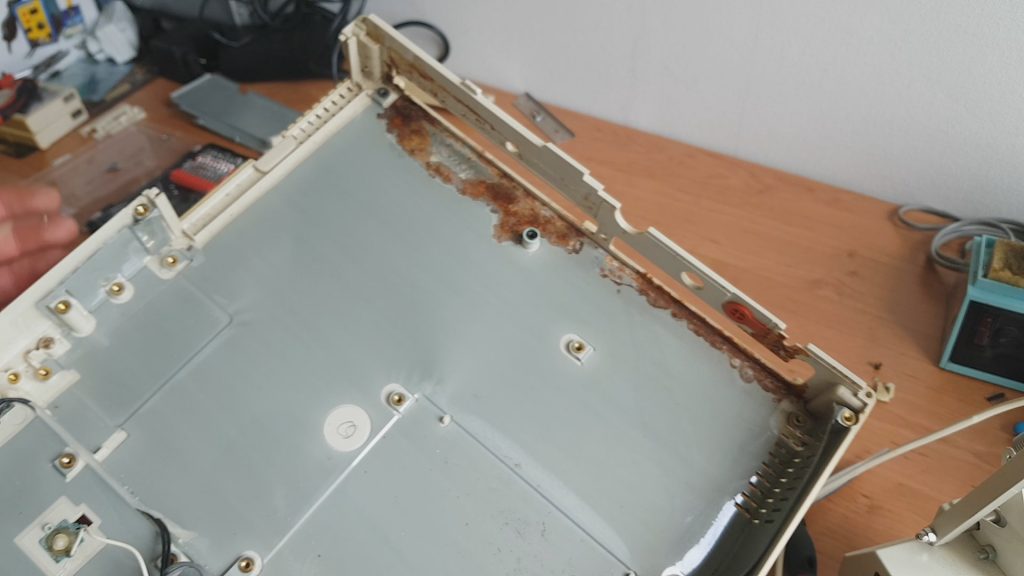
The corrosion had spread to the plasticised metal RF shield on the bottom of the case, the left battery had been corroded stuck and required a considerable amount of force to be removed.
And, of course, the caps in the PSU and HDD controller had leaked everywhere, as well as the SUB-battery used for RAM backup.
The PSU board had seen better days it has lots of corrosion on the traces and is drenched in electrolyte.
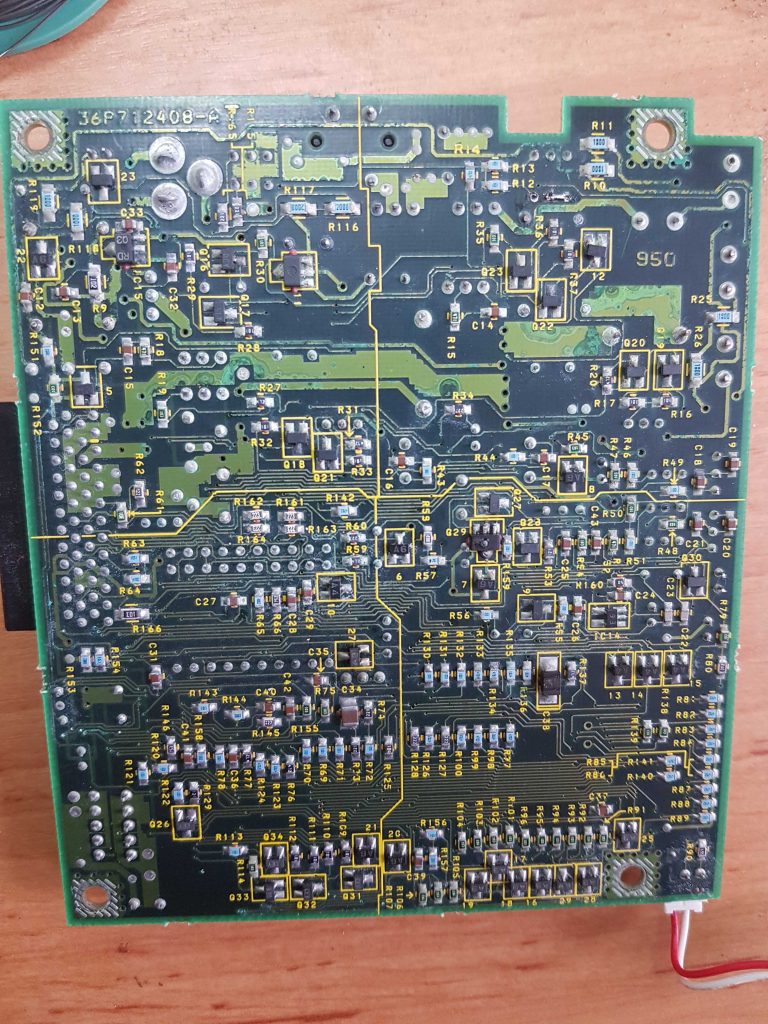
After a good wash with white vinegar and a rinse with some soapy water things looked better already, though this PCB is obviously very damaged.
C38 is blown apart and Q29 doesn’t look any better.
A couple of power MOSFETS had also released the magic smoke and there even was a resistor that had melted off the board and was floating around in the case. Yikes.
I ordered all the broken components and started replacing everything.
Plugged in the power but nothing happened.
There will be a short series of posts about the PSU board as this has taken up a lotof my time the last couple of monts.
I will also cover it on my YouTube channel.
