I thought it was time I posted another T1000LE update because (quite obviously) everything went not as planned.
I really wanted to get the video done by now but editing is a lot of work and since the December festivities start early here in The Netherlands I didn’t have all the spare time I wanted.
My aim is to get it done before Christmas, so keep an eye on my YouTube channel.
There were some other problems encountered as well.
First off, the 120μF 25V capacitor I needed took way longer to get than I thought and even after replacing this last capacitor the machine still wouldn’t work.
So I went ahead and replaced the other capacitors as well which didn’t help either. Still no sign life from the machine, besides the quickly flashing LEDs.
More defective components
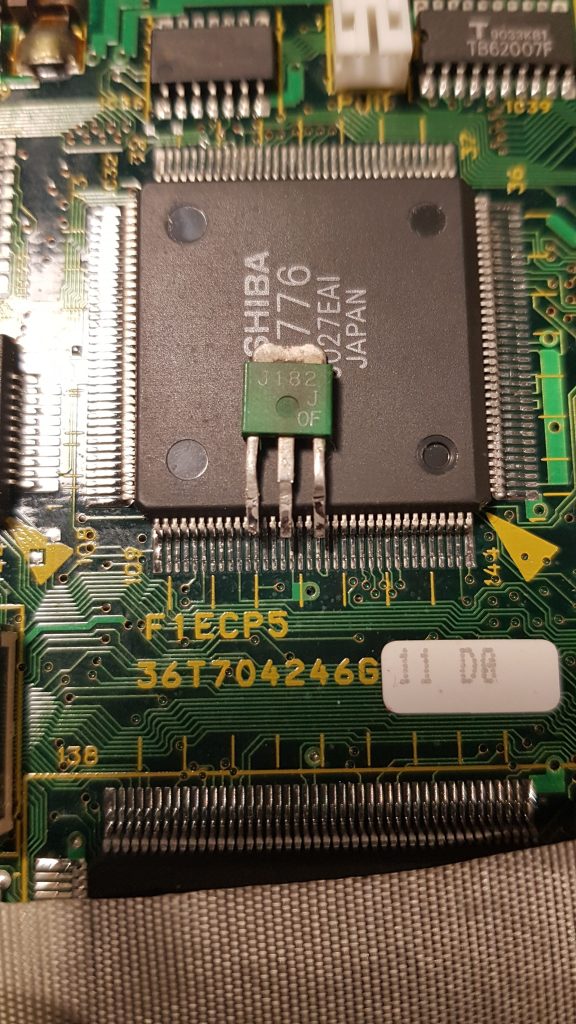
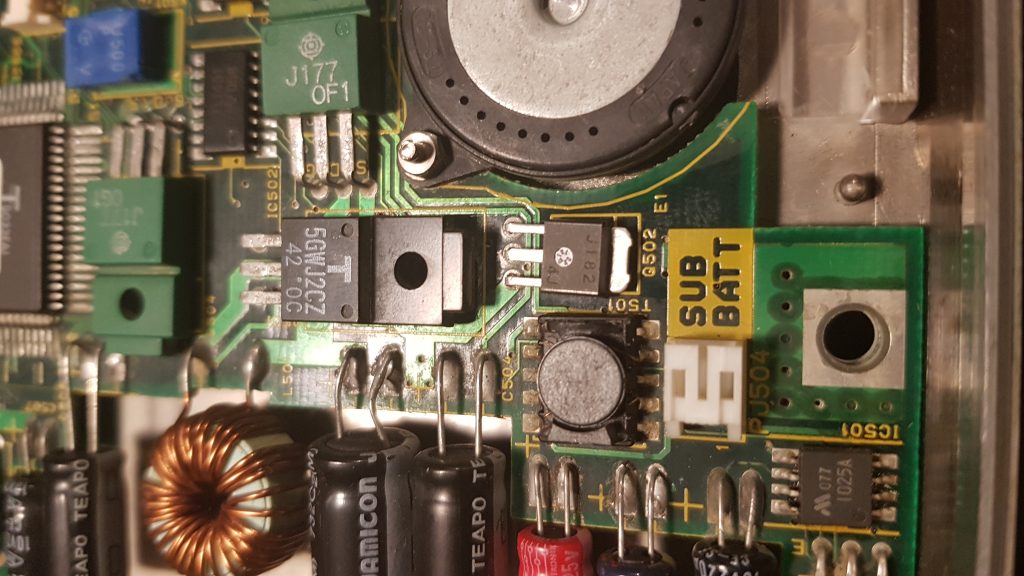
Scratching my head what it could be I just started trying to turn it on over and over again. After about 5-6 times a small inductor near the capacitors started to heat up quite a bit. That is when I noticed a small TO-251AA MOSFET was a bit black, as you can see from the picture below

The only option to test it correctly was to de-solder it from the PCB and put it in a transistor tester, so I did just that.
The tester entered calibration mode, which it only does when all 3 terminals are connected together, meaning the MOSFET was completely fried, possibly due to the damaged, leaking capacitors.
After some digging this turns out to be a Hitachi 2SJ182 P-Channel power MOSFET and they’re not that easy to get.
I initially ordered a couple of them from the UK, but shipping was taking forever so I ordered another 3 from an Italian store on Ebay which were shipped and delivered very quickly.
In the mean time I de-soldered the other through-hole components to test them, and they all seemed well within tolerances.
I soldered the new MOSFET in to place and reconnected all essential connectors like power, the LED panel and the power switch, connected the AC adapter and pressed “on”.
Testing and first light
The machine powered on, made a short beep and turned off. This is a good sign so on to reassembly.
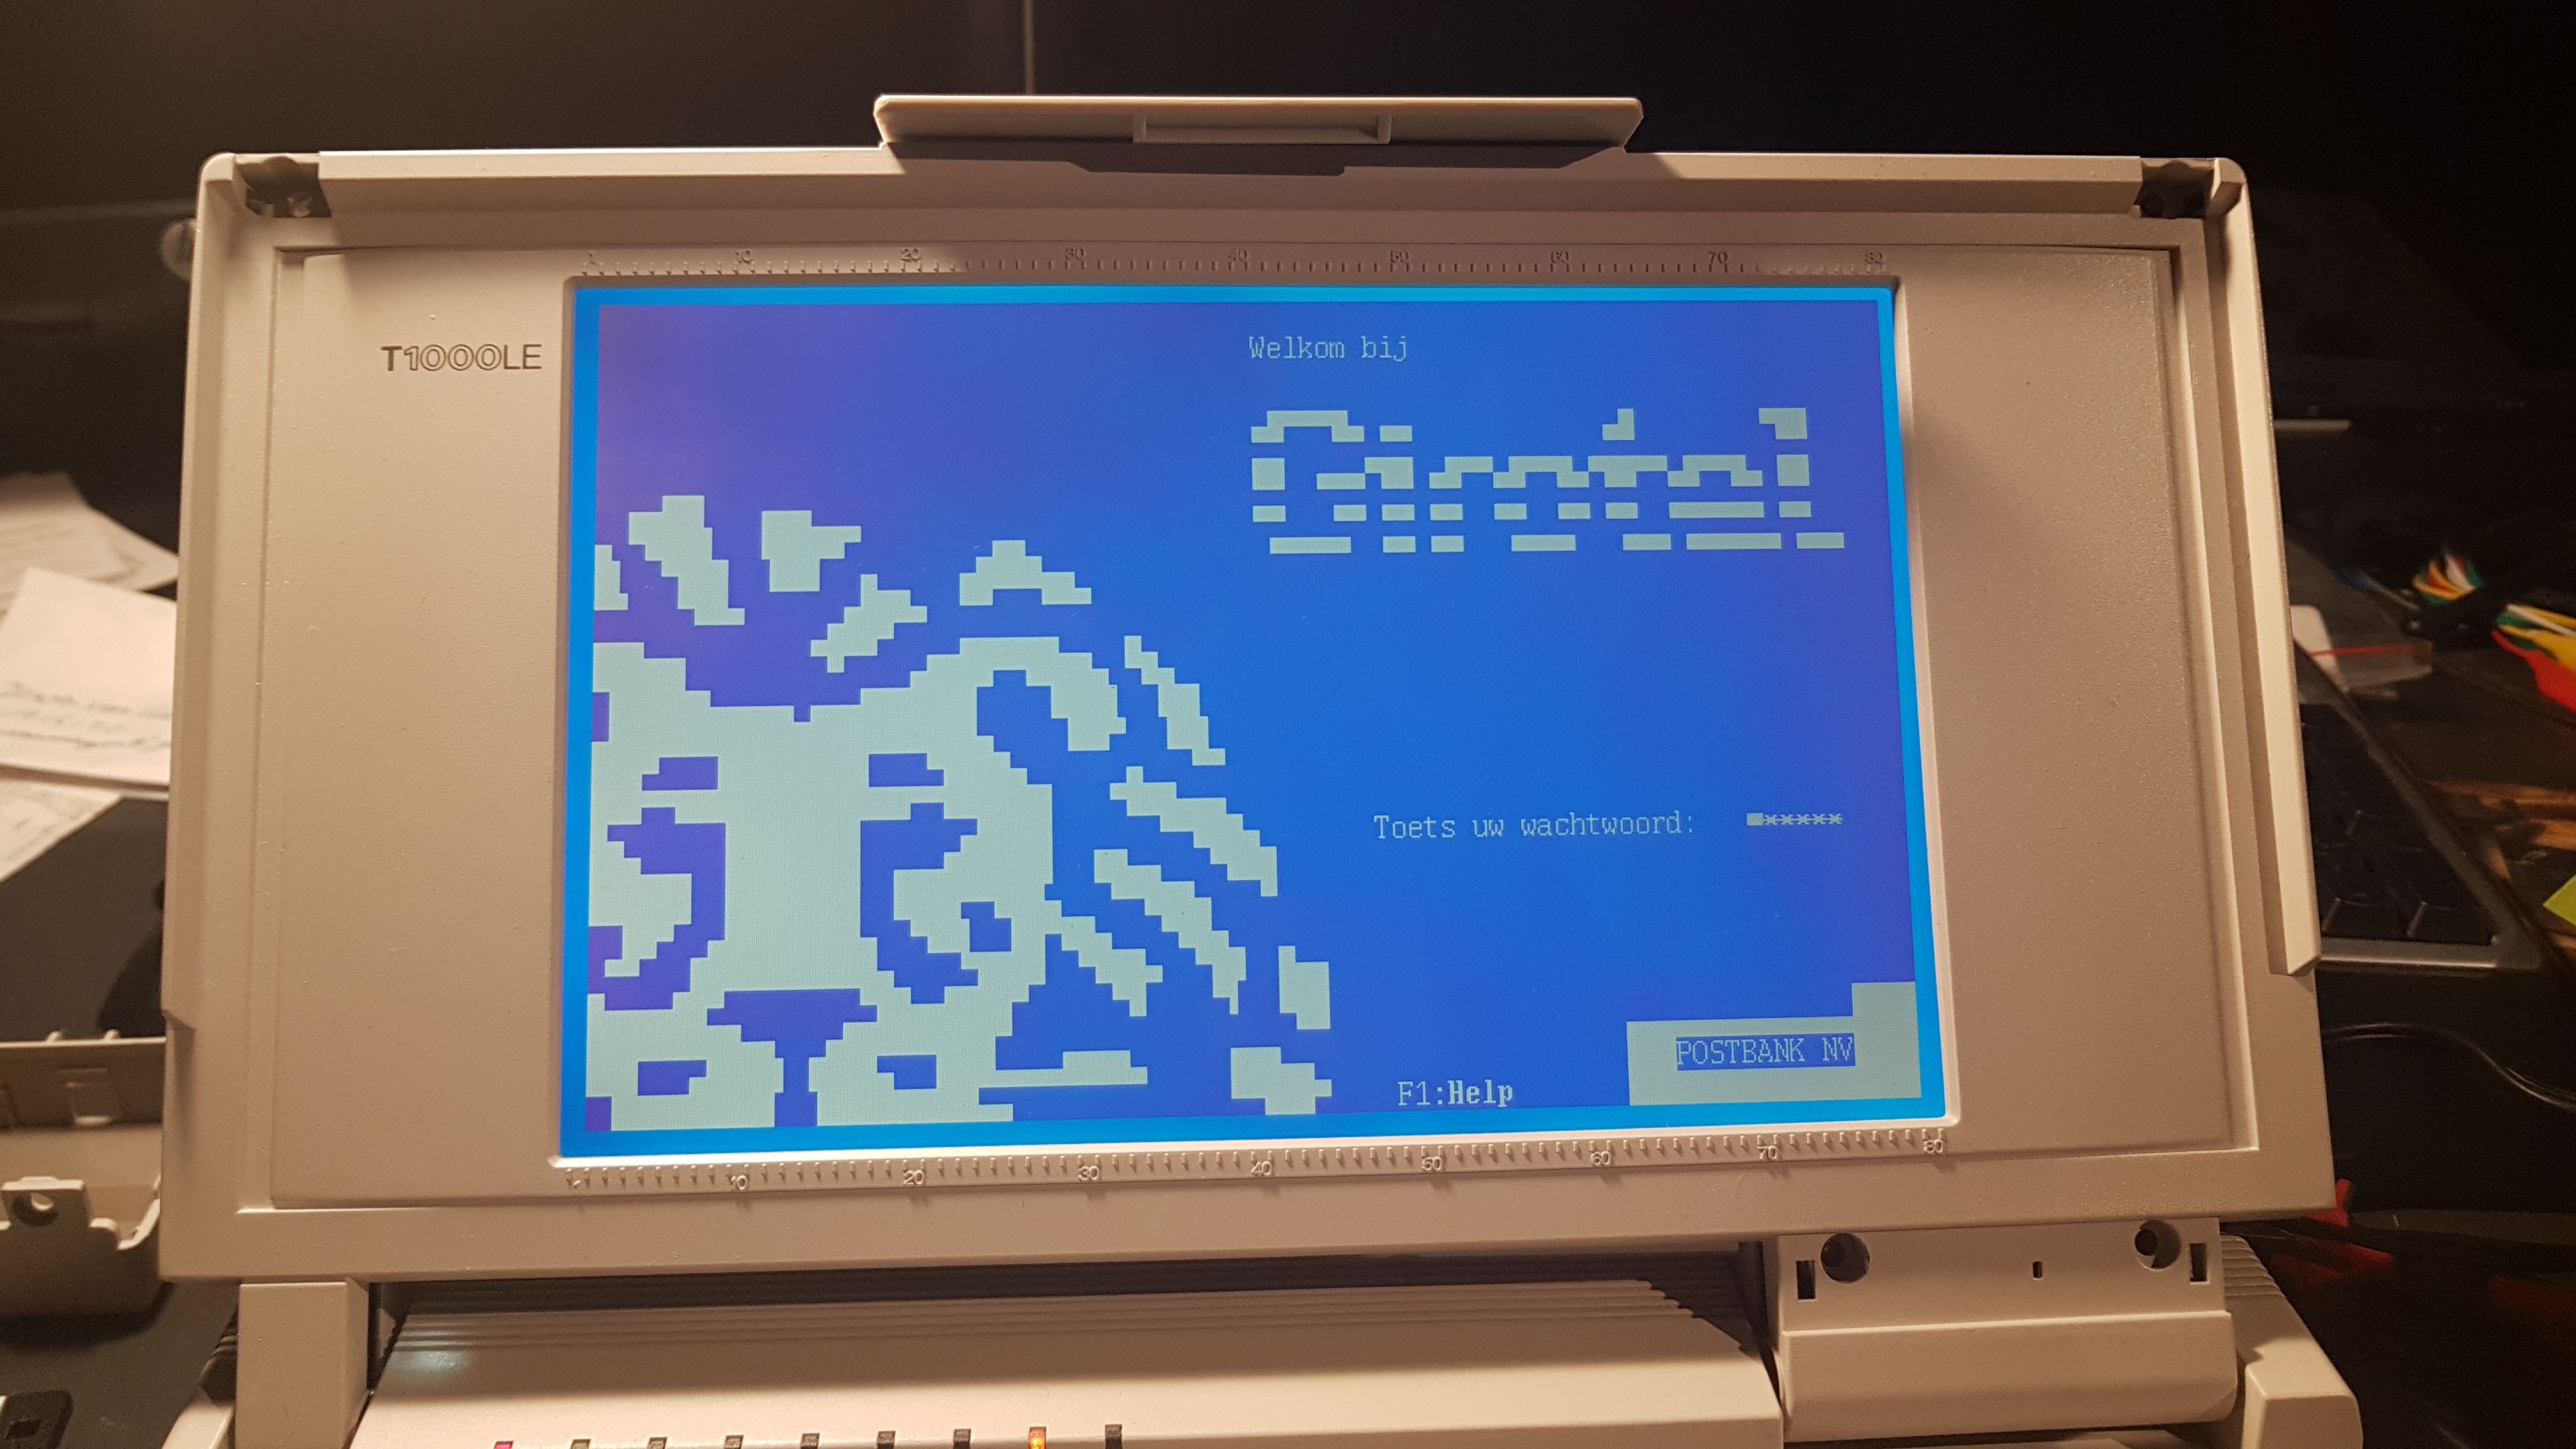
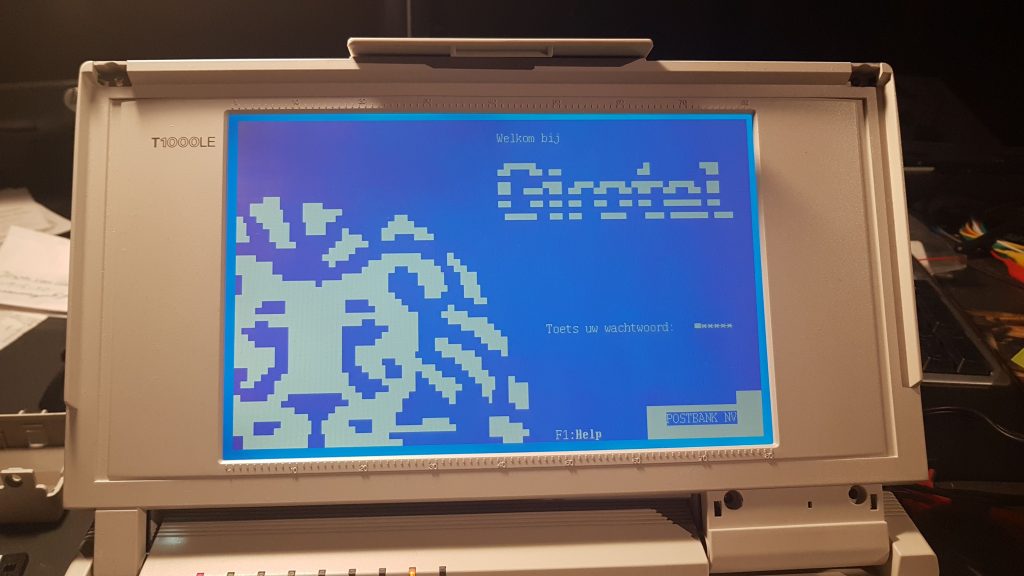
I started by reconnecting the floppy drive and display and powering the unit on.
The display switched on and briefly showing the message
SYSTEM CONFIGURATION ERROR
A checksum error occurred in the configuration RAM.
Press any key for default set ….
beeped, and switched off. So, maybe it needs the harddrive, let’s reconnect that.
With the harddrive installed the machine doesn’t turn off anymore, it just displayed the above message. So I pressed a key.
The power-on memory test started running and showed 640KB OK.
Great! The machine works!
Well, kind of. The FDD has the same problem as my other Toshiba laptops, the drive belt has disintegrated and these are quite difficult to get nowadays.
Harddrive issues (again)
The HDD, a Conner CP-2024 has the same problem as the Conner CP-2064 in my T1800 so I figured I’d start there, opening it up and trying to bump the head assembly’s voicecoil a bit to get it to un-stick.
This worked, but only exactly once.
The drive heads unlocked and I shut down the drive. Installed it in the laptop and powered the system on. The system boots to MS-DOS 3.3 perfectly now. Awesome!
There was some data and software still on the drive, like WordPerfect 5.1 and this vintage beauty:
I was very pleased with the progress up until the moment I shut it down for the night and tried to reboot it the next morning.
A horrible screeching noise came from the drive and then it just stopped dead. No spin-up sound, no heads ticking, nothing. It’s completely jammed.
Somehow the drive heads were damaged, possibly because I opened it up but more likely is the fact that I bumped the laptop when it was powering up. Inspecting it you can clearly see the platter got scratched, even though the drive was closed, probably due to a head crash.
It has one big, deep ~7mm long scratch and numerous very small ones all over the platter, suggesting the head got damaged badly. You can’t really see it on camera unfortunately, so I can’t include a picture of it.
Not really that big of a deal, there was no important data on there but I really wanted to see what was on there out of curiosity.
Furthermore, I will have to replace the drive now, something that I wanted to postpone for a bit. Oh, well.
Conclusion (for now)
And that’s it for now. I can’t really use the computer as I have no working HDD for it (like the T1800, the drive geometry is hard-coded in the BIOS so no other drive works) and I can’t boot it from floppy.
I ordered a bunch of different sized rubber belts from AliExpress yesterday, hoping one will fit. Maybe one will even fit the T1800 or the T1950CT.
These will take some time to get to The Netherlands so I’ll have to postpone anything to do with the vintage laptops for now.
On the bright side, that frees up time to work on some of my other projects.