I finally got around to fixing the T1800 laptop I’ve owned for the last couple of years.
This is a project that has been shelved for a long time as I thought it had a BIOS defect which tuner out to be a harddrive (and floppy, I’ll get back to that later) issue.
I posted a YouTube video with the results of this repair, view it here
Basically, the harddrive would spin up but it sounded like the heads didn’t move.
After long hours of Googling and asking some people more knowledgeable about harddrives than me, I finally found a solution.
So, what was wrong with this drive?
The heads stuck. Whether or not this was due to stiction or not is questionable, to me it seems more like the driver IC’s have gone bad over time.
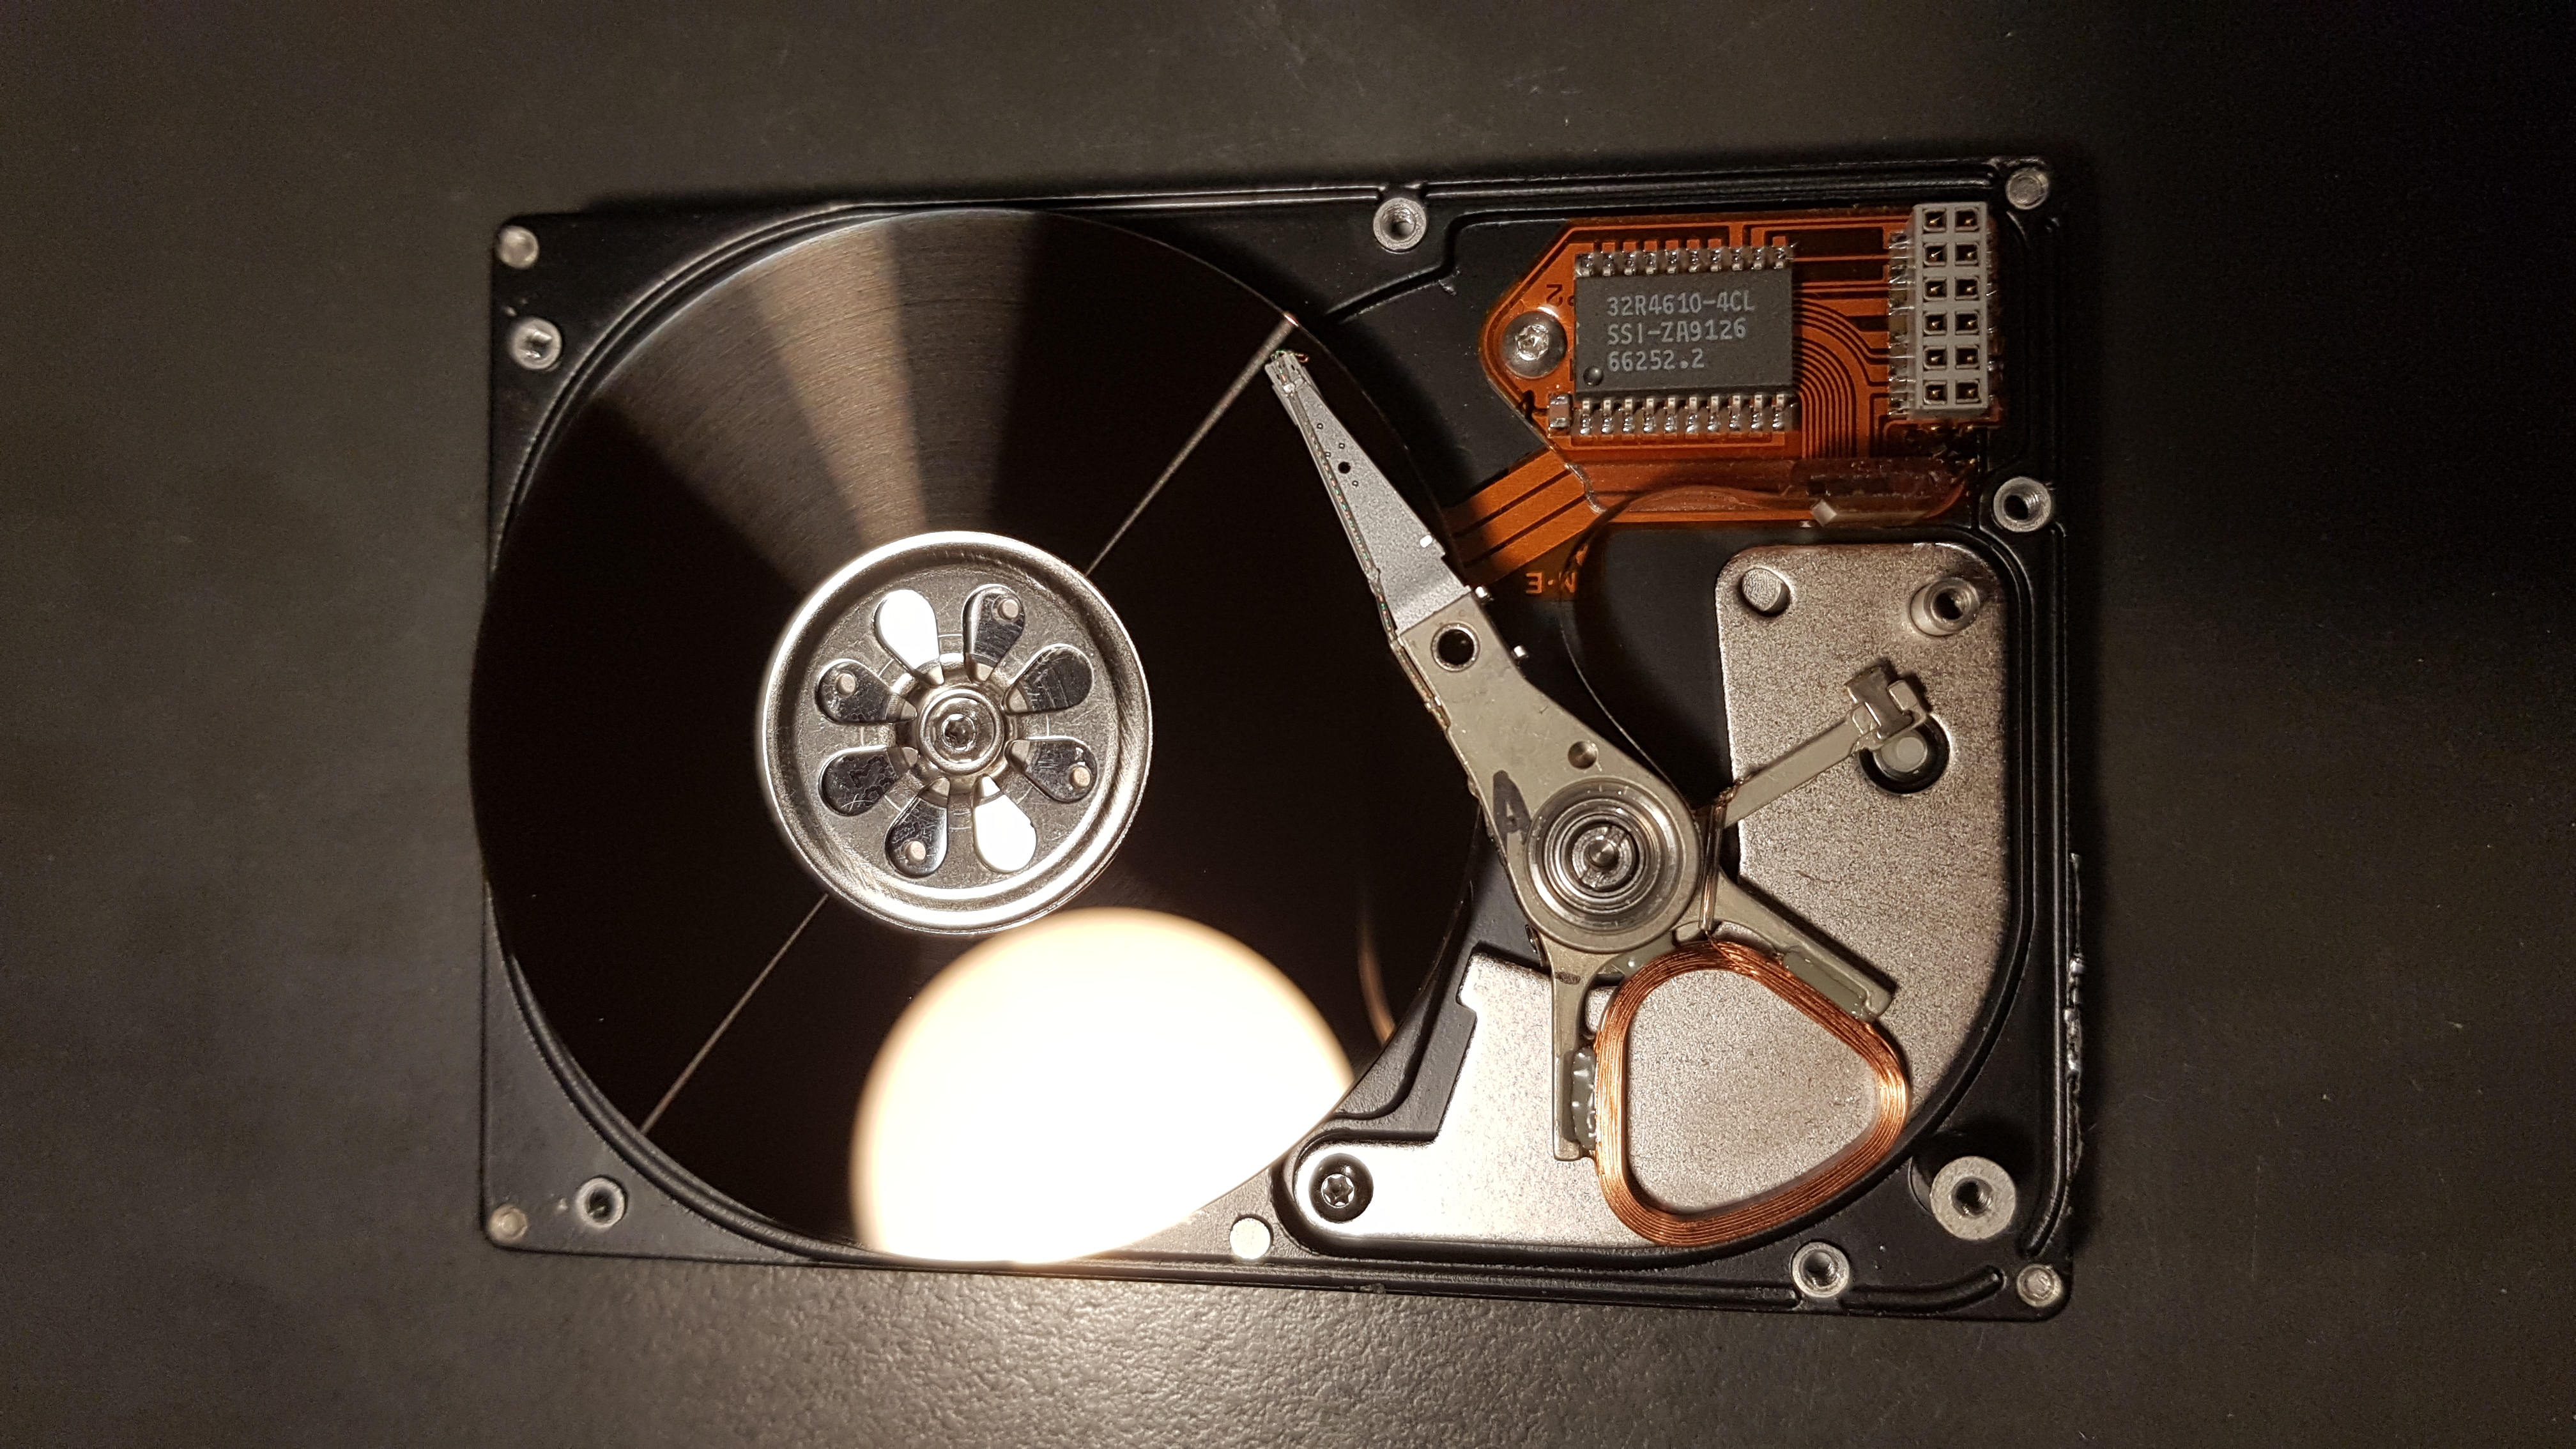
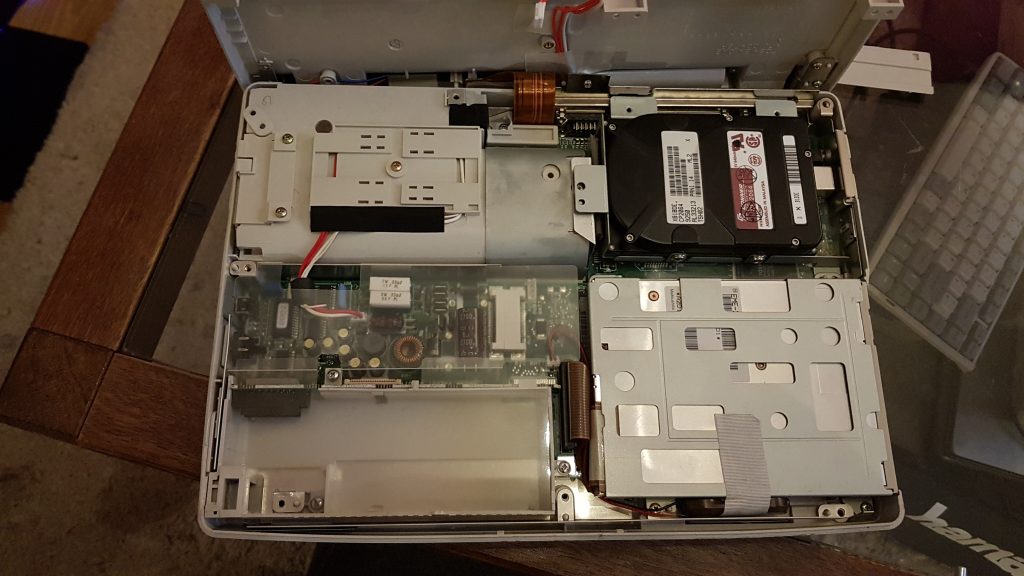
Anyhow, a while back I decided to open up the drive and see what was going on.
Wait. What? You opened a harddrive?
Yes, though a word of caution is called for so here it comes:
Warning: If you care about your harddrive or the data that is on it DO NOT open it.
You will kill it, especially modern harddrives.
Send it to a professional data-recovery company and replace it once all data has been recovered.
Now we got that out of the way, let’s continue.
These older drives, unlike their new(er) counterparts, can handle quite a bit of abuse, including opening them up if you’re careful and work clean.
What I found out was that the heads would stick.
When I slightly bumped the heads (by moving the voicecoil a bit) so they would “unpark” the drive would work fine.
This seemed to me like their was either not enough power going to the voicecoil or the heads were stuck to the platter because of stiction.
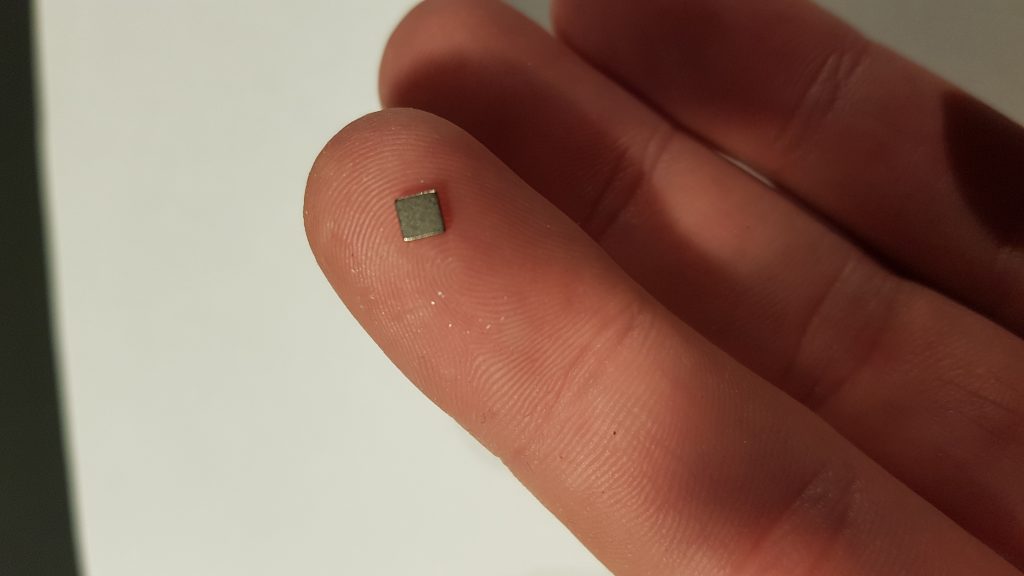
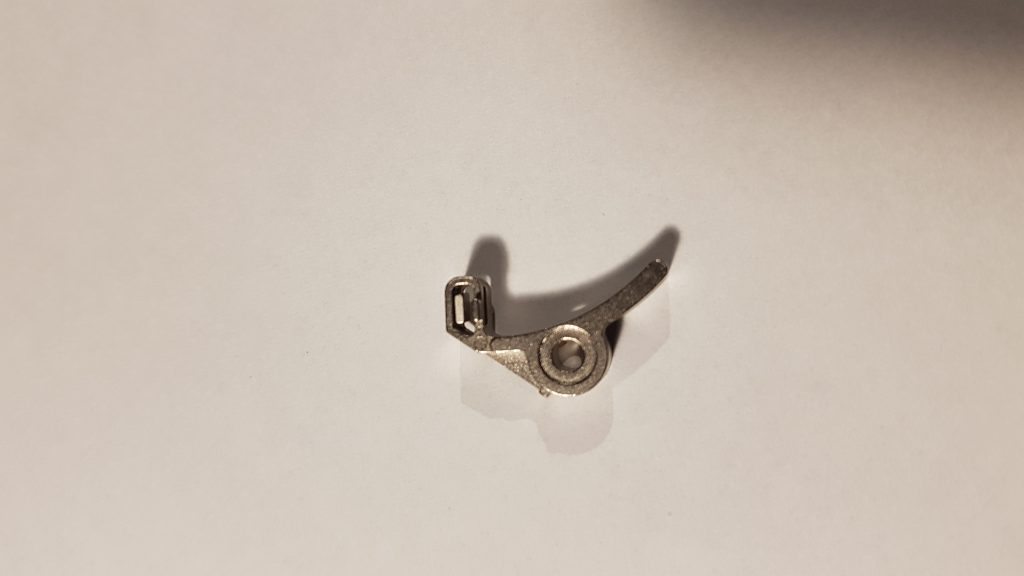
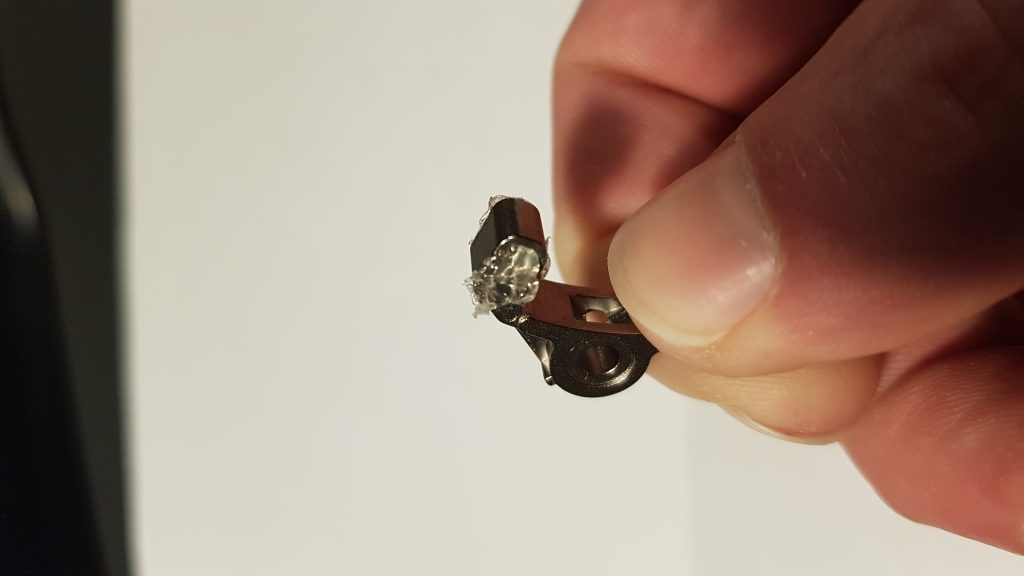
I decided to replace the magnet holding the heads in the “landing zone” by a weaker one.
Below you’ll find the pictures of me replacing the magnet, unfortunately I couldn’t film it due to the amount of precision and trial-and-error required.
Photo documentation of the repair process


And we’re done.
But does it work? Well, you can check out my YouTube video on that.
Conclusion
All in all, it was a very fiddly job but definitely one that I felt confident would fix the issue, albeit temporarily. It is still a failing harddrive that has to be replaced, probably by a solid-state solution.
The floppy drive on this machine is bad too, the rubber drivebelt driving the spindle has desintegrated over time and will need replacing.
Unfortunately these are very hard to find these days but I won’t give up.
As for the T1000LE project, I’ve replaced all capacitors and will upload a video on that to my YouTube channel once I finished editing.